About Anti-spoofing
Spammers can "spoof" your email address and pretend their messages are sent from you.
To avoid such possibility, enable anti-spoofing in Kerio Connect.
First, configure anti-spoofing for your server. Then, enable anti-spoofing for each domain.
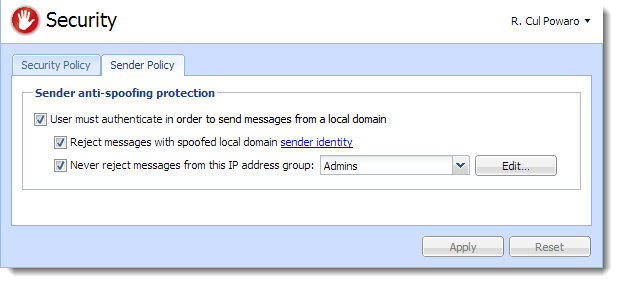
- Go to the Configuration > Security > tab Sender Policy section.
- Select the User must authenticate in order to send messages from a local domain option.
- Kerio Connect can automatically Reject messages with spoofed local domain.
NOTE
See the Security log for information about the rejected messages.
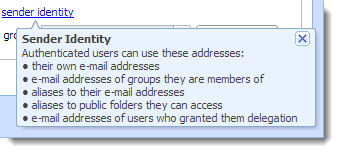
- Click the sender policy link to see which types of addresses are available to your users.
- Define a group of trusted IP addresses.
- Click Apply.
For more information about other security features in Kerio Connect, read Securing Kerio Connect.
Enabling anti-spoofing per domain
- In the administration interface, go to the Configuration > Domains section.
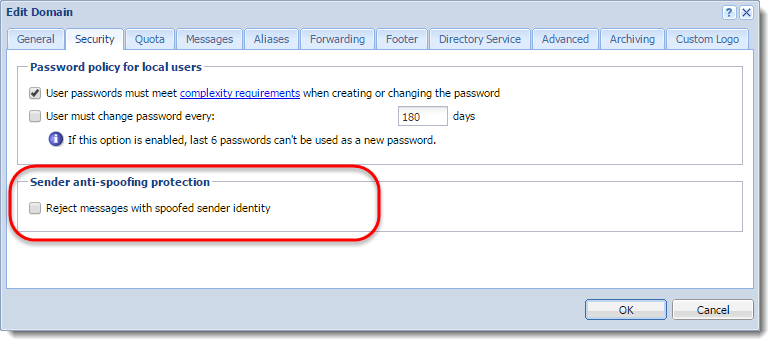
- Double-click a domain and go to tab Security.
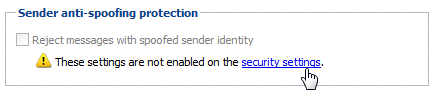
- Select the Reject messages with spoofed sender identity option . If the option is not available, you haven't configured anti-spoofing for the server. Click the security settings link, which takes you to the appropriate section.
- Click OK.